Mastering Striped Tie-Dye Patterns: A Creative Guide
- Marjo Wilson
- Apr 13
- 4 min read
Tie-dye is a timeless art form that brings color and life to fabric. Among the many styles, striped tie-dye patterns stand out for their clean lines and vibrant contrasts. I’ve spent a lot of time experimenting with these patterns, and I’m excited to share what I’ve learned. Whether you’re new to tie-dye or looking to refine your skills, this guide will help you master striped tie-dye patterns with ease.
Understanding Striped Tie-Dye Patterns
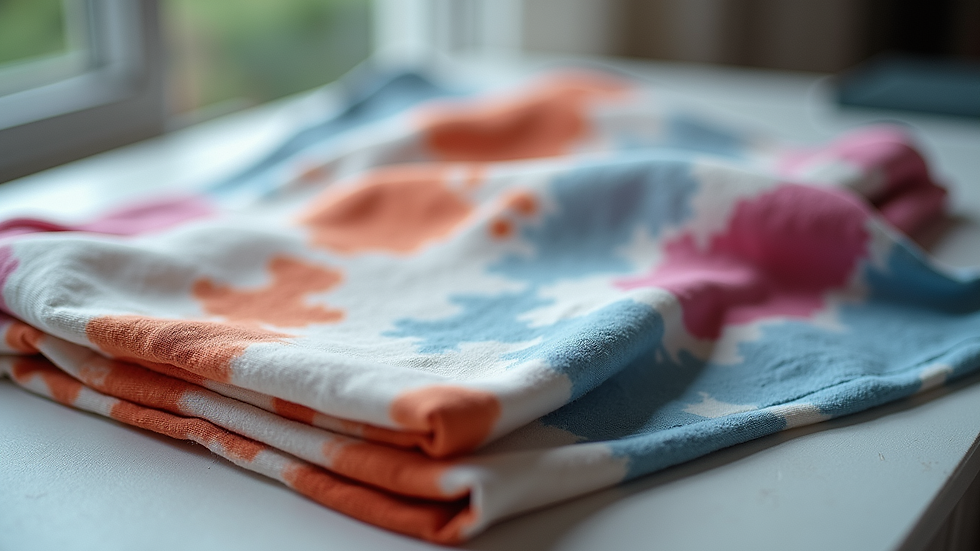
Striped tie-dye patterns are all about creating bold, linear designs on fabric. Unlike the classic circular or spiral tie-dye, stripes give a more structured and modern look. You can make stripes that are thin or thick, straight or wavy, depending on how you fold and bind your fabric.
The key to great stripes is in the preparation. Folding your fabric carefully and using the right binding tools will help you achieve sharp, clear lines. You can use rubber bands, string, or even clamps to hold the fabric in place. The dye application also matters - applying dye in a controlled way will keep the stripes distinct.
One of the best things about striped tie-dye patterns is their versatility. You can create stripes that run horizontally, vertically, or diagonally. This flexibility lets you customize your design to fit your style or the item you’re dyeing.
Exploring Different Striped Tie-Dye Patterns
There are several ways to create striped tie-dye patterns, each with its own unique look. Here are some popular styles you might want to try:
Accordion Fold Stripes: Fold the fabric back and forth like an accordion. This creates parallel stripes when dyed.
Spiral Stripes: Twist the fabric into a spiral, then bind it in sections to create striped spirals.
Diagonal Stripes: Fold the fabric diagonally and bind tightly to get angled stripes.
Crinkle Stripes: Scrunch the fabric randomly but bind in straight lines to combine texture with stripes.
Each method changes how the dye interacts with the fabric, so don’t hesitate to experiment. You can also mix colors for a rainbow effect or stick to two tones for a classic look.
How to tie-dye stripes step by step?
If you want to create striped tie-dye patterns, here’s a simple step-by-step guide to get you started:
Choose Your Fabric
Use 100% cotton or natural fibers for the best dye absorption. Pre-wash the fabric to remove any sizing or chemicals.
Prepare Your Workspace
Cover your surface with plastic or newspaper. Wear gloves to protect your hands from dye stains.
Fold the Fabric
Decide on the stripe direction. For horizontal stripes, fold the fabric accordion-style horizontally. For vertical stripes, fold vertically. Make sure the folds are even.
Bind the Fabric
Use rubber bands or string to tightly bind the folded fabric. The tighter the binding, the sharper the stripes.
Mix Your Dye
Follow the instructions on your dye package. Use squeeze bottles for precise application.
Apply the Dye
Apply dye to the exposed fabric sections. For clean stripes, avoid overlapping colors too much.
Let It Set
Place the dyed fabric in a plastic bag or cover it to keep it moist. Let it sit for 6-8 hours or overnight for vibrant colors.
Rinse and Dry
Rinse the fabric under cold water until the water runs clear. Wash separately and dry as recommended.
This process is straightforward and fun. With practice, you’ll get better at folding and dye application, making your stripes more defined and colorful.

Tips for Perfecting Your Striped Tie-Dye Creations
Here are some practical tips I’ve picked up to help you get the best results:
Use Quality Dye: Invest in good-quality fiber-reactive dyes for bright, lasting colors.
Keep Folds Tight: The tighter your folds and bindings, the clearer your stripes will be.
Plan Your Colors: Think about how colors will blend. Use contrasting colors for bold stripes or similar shades for subtle effects.
Test Small Pieces: Before working on a big project, try your technique on a small fabric scrap.
Work Quickly: Dye can dry fast, so apply it promptly to keep colors vibrant.
Wear Protective Gear: Gloves and old clothes will save you from stains.
By following these tips, you’ll avoid common mistakes and enjoy the process more.
Bringing Your Striped Tie-Dye to Life
Once you’ve mastered the basics, you can start creating unique pieces that reflect your style. Striped tie-dye patterns work great on t-shirts, scarves, tote bags, and even home decor like pillow covers.
You can also combine stripes with other tie-dye patterns for a mixed look. For example, add a spiral center to a striped background or use crinkle folds on the edges. The possibilities are endless.
If you want to dive deeper into the art, check out this resource on striped tie dye techniques for more inspiration and advanced methods.
Creating striped tie-dye is not just about the final product - it’s about enjoying the process and expressing your creativity. Each piece you make is a one-of-a-kind work of art.
Sharing Your Colorful Creations
After you’ve made your striped tie-dye masterpiece, consider sharing it with others. Handmade art like this brings joy and sparks imagination. Whether you gift it to a friend or display it in your home, your creation tells a story.
If you’re interested in growing your reach, platforms that celebrate inclusive artistic expression are great places to showcase your work. Sharing your journey and tips can inspire others to try their hand at tie-dye too.
Remember, every stripe you create adds a splash of color to the world. Keep experimenting, keep creating, and most importantly, have fun with your art.
I hope this guide helps you feel confident in mastering striped tie-dye patterns. Dive in, get your hands colorful, and enjoy the magic of handmade art!


Comments